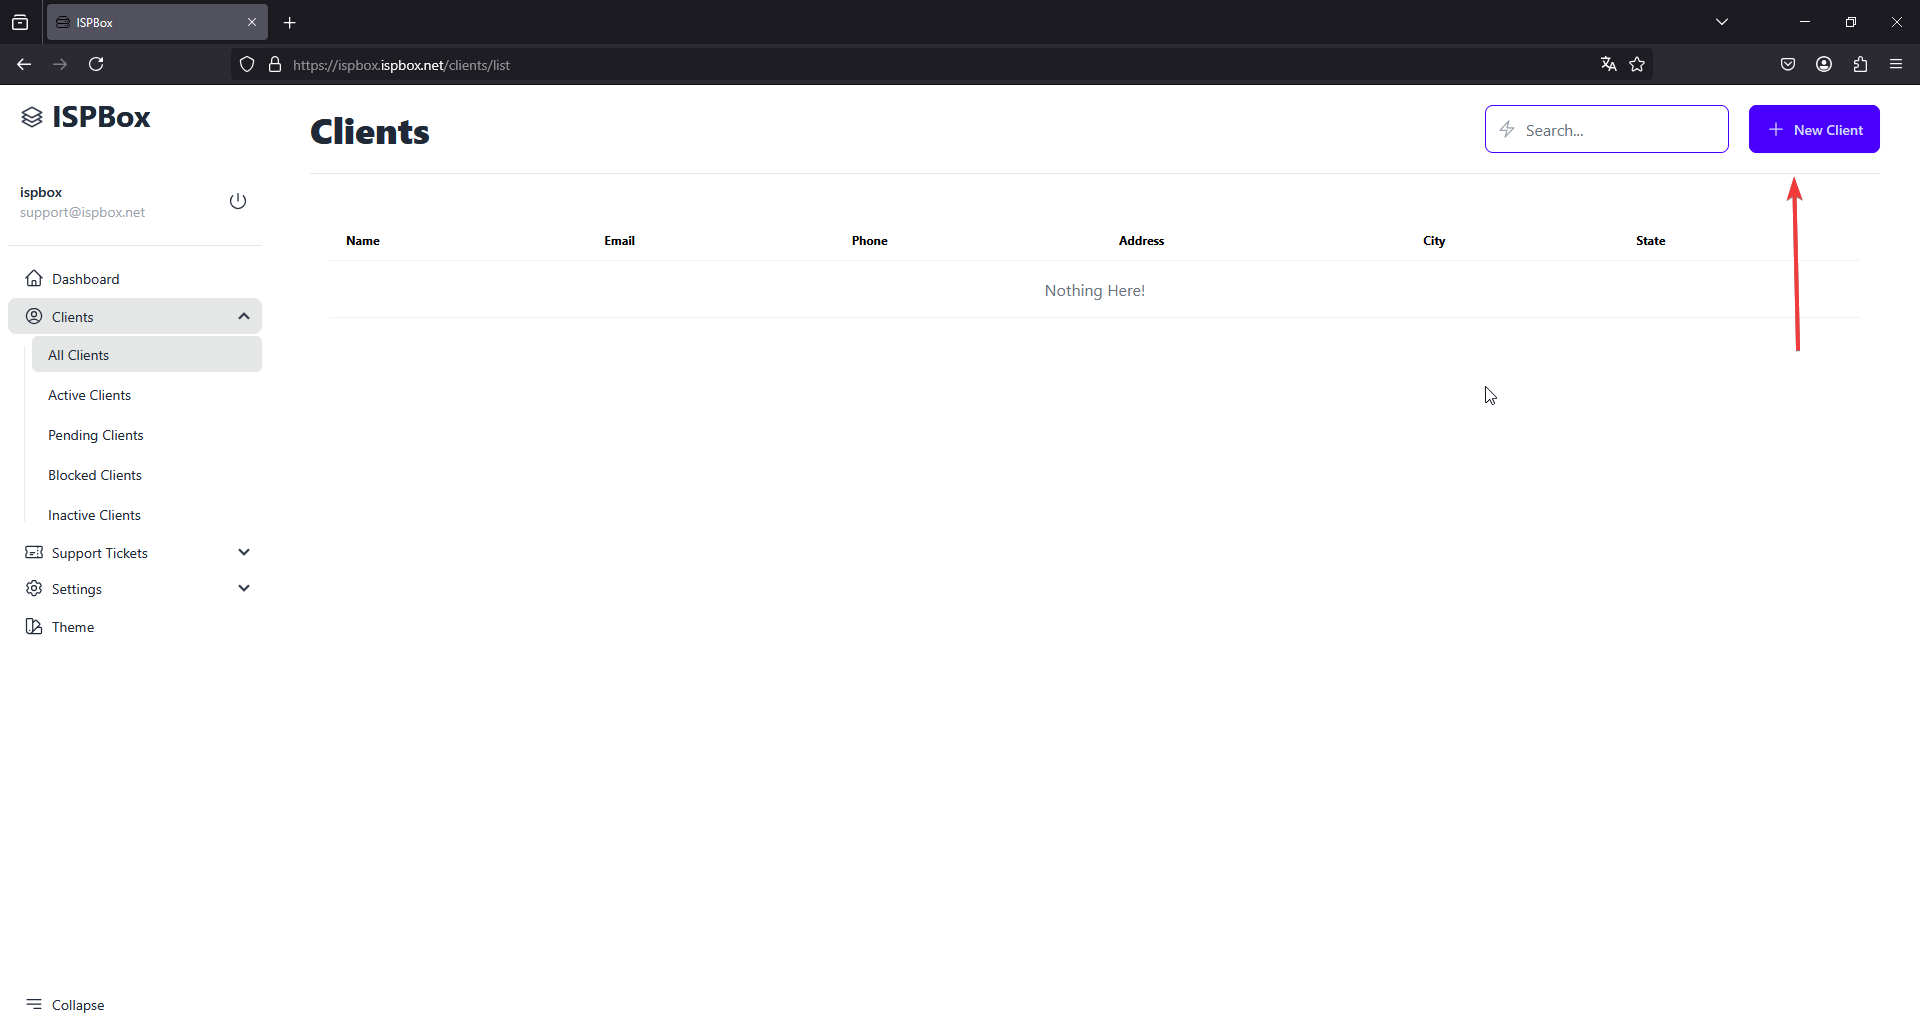
Step 1: Access the Client Management Section and Initiate Adding a New Client
From the main dashboard of ISPBox, navigate to the sidebar menu on the left side of your screen.
Click on "Clients" to expand the submenu, and select "All Clients" to open the list of existing clients.
Click the "+ New Client" button located at the top right corner of the page to open the "Add New Client" form.
Step 2: Enter Client Details
- Fill out the "Add New Client" form with the necessary details:
- Name: Enter the full name of the client.
- Email: Provide the email address of the client.
- Phone: Enter the client's contact phone number.
- Address: Fill in the client's street address.
- City: Specify the city where the client resides.
- State: Enter the state or region.
- ZIP Code: Provide the postal code for the client’s location.
- Review the information to ensure all details are accurate.
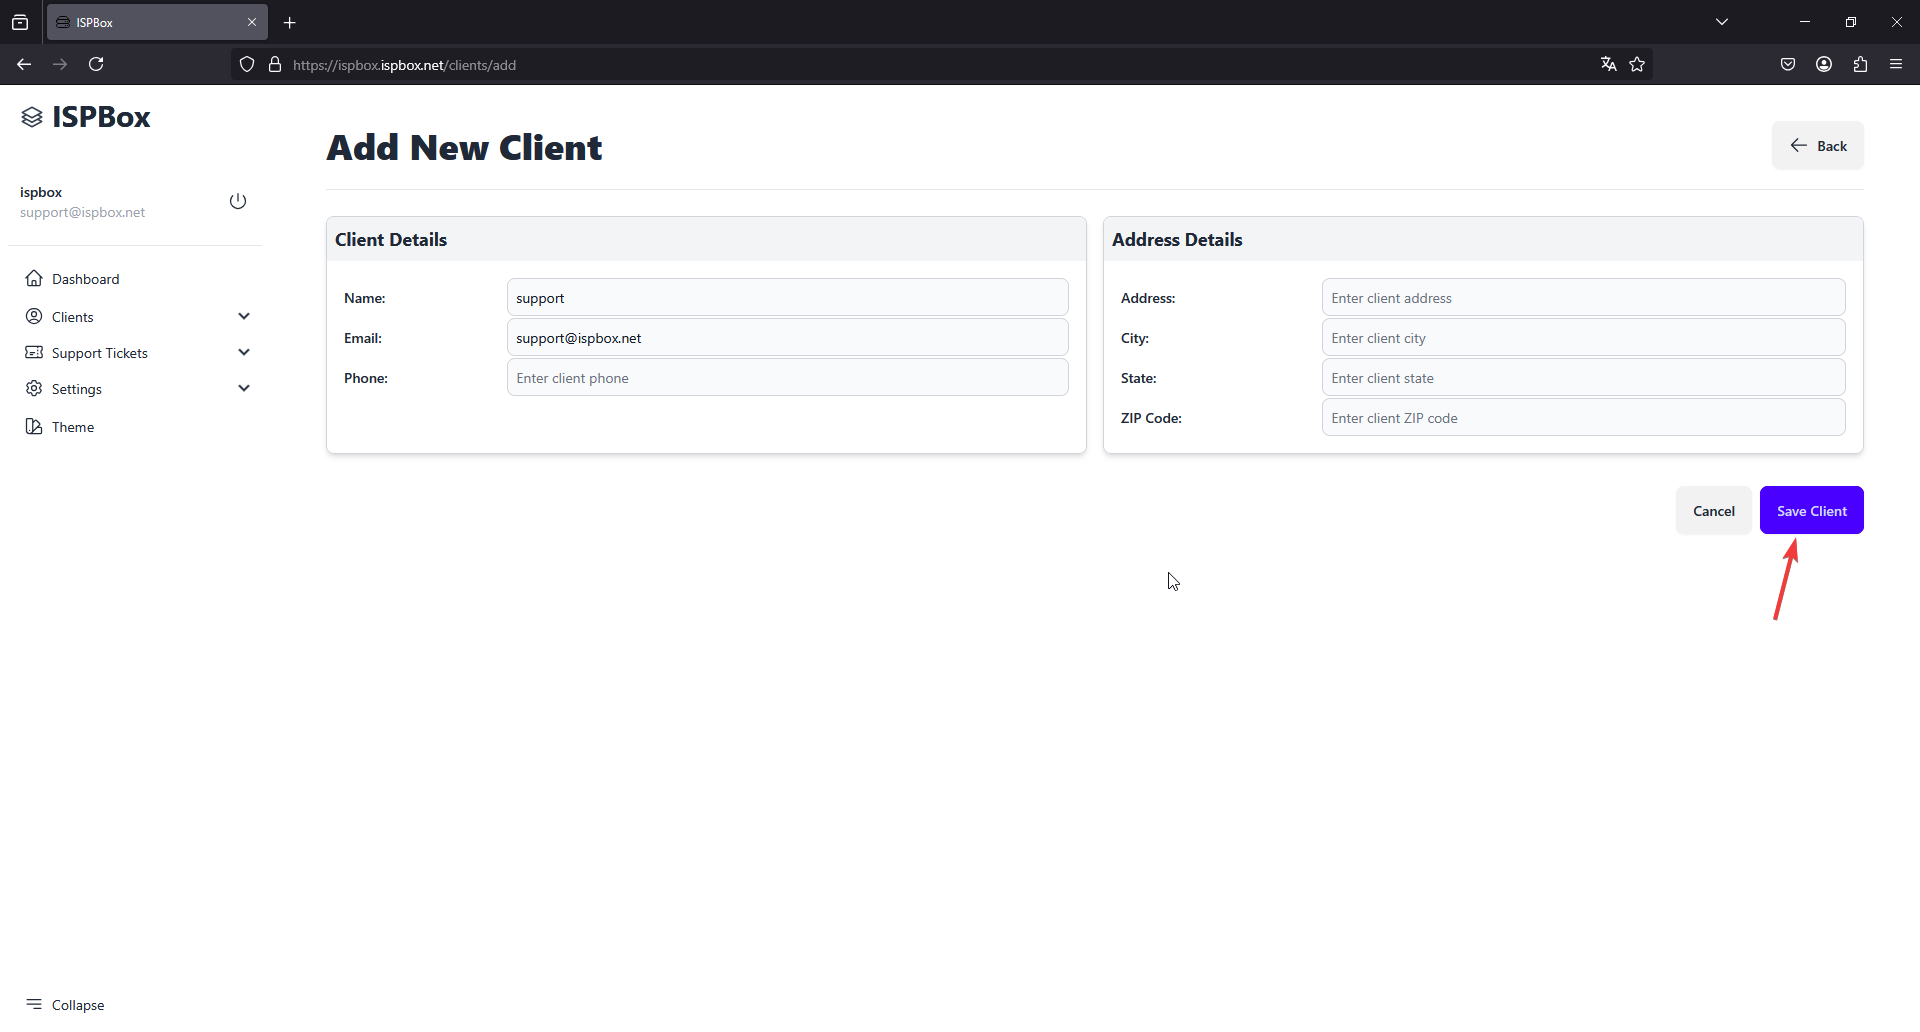
Step 3: Save the Client Information
Click the "Save Client" button at the bottom of the form to save the client's information to the system.
You will be redirected back to the "All Clients" page where the new client will now be listed, and a confirmation message will appear indicating that the client has been successfully added.
This streamlined approach helps you quickly add new clients to ISPBox, ensuring all necessary information is captured efficiently.